Laundry Room DIY Countertop
Unless you custom build your house, it is sure to come with less than ideal storage space. This laundry room DIY countertop and shelving added workspace, storage, and functionality to this laundry room for under $40.
This countertop was the second stage of our laundry room remodeling project. To see the first part of the process see this blog post on our Laundry Room Reveal.
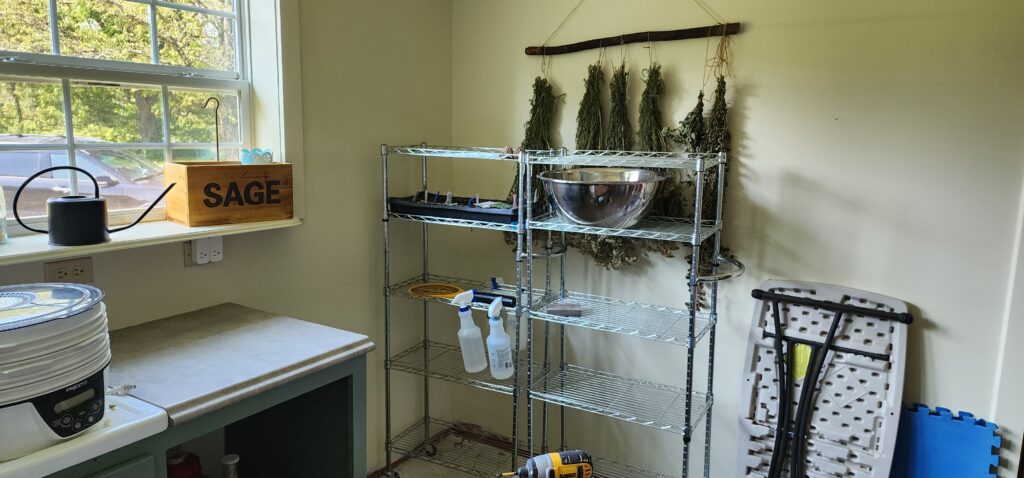
Before
Initially, there was a cabinet in the space we built this countertop and shelving. After moving the cabinet, it left space, that at the time was useful for seed starting shelves, but I needed more space for drying herbs, dehydrating foods, fermenting foods, winemaking, dyeing fiber, drying and packaging seeds, etc.
Our laundry room is a busy room, only second to the kitchen and I needed room for the tasks and tools. I needed to extend the counter top to the wall and that was the initial plan because the lumber required would be less than $50. We were able to get some used packing crates for free with the exact lumber I intended to use. With this additional lumber, instead of only a straight counter, we could make an “L” and add extra shelving below.
Laundry Room DIY Countertop Build
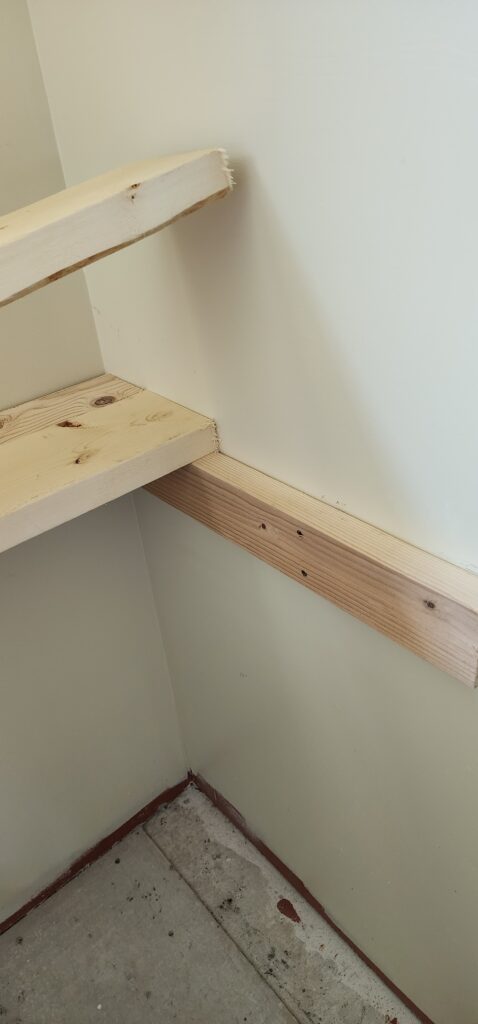
To save money on lumber, we made supports that anchored into the existing studs in the wall.
For the countertop, we used (2) 2x6x12 board (cut into three) and (1) 2x4x8 to match the counter depth of the sink. (If we had bought the lumber and stopped here, our cost would’ve been only $25.) To secure the countertop boards, we anchored the support the studs in the wall and secured the boards to the anchor board.
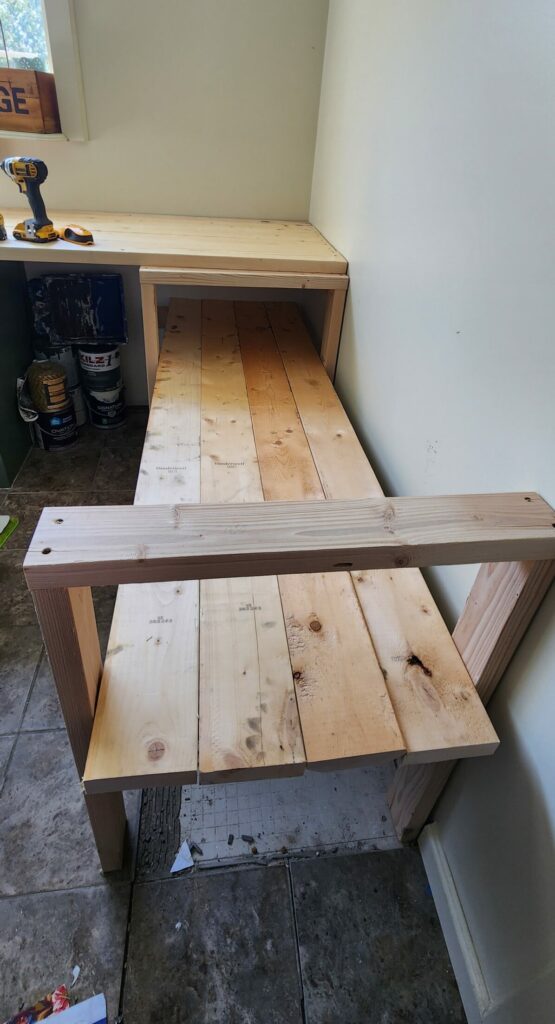
We then attached a wall anchor at the end of the shelf (beneath the countertop) and made shelf supports, attaching the shelf boards to each support with wood screws. We used the salvaged scrap lumber on the shelf because it wouldn’t be as visible.
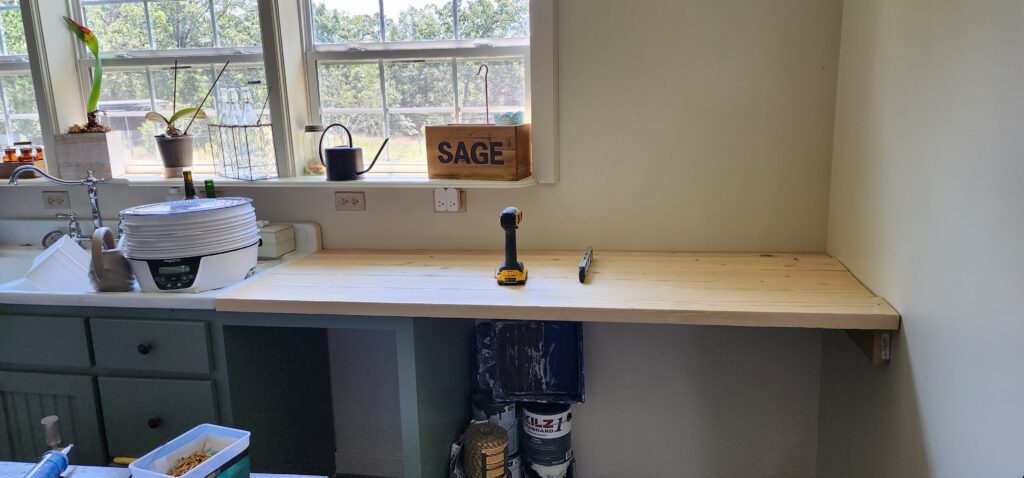
Finally, we cut the last boards for the remainder of the countertop and attached them to the top of the supports with wood screws. I sanded the rough spots and scuffs from the salvaged boards and the countertop.
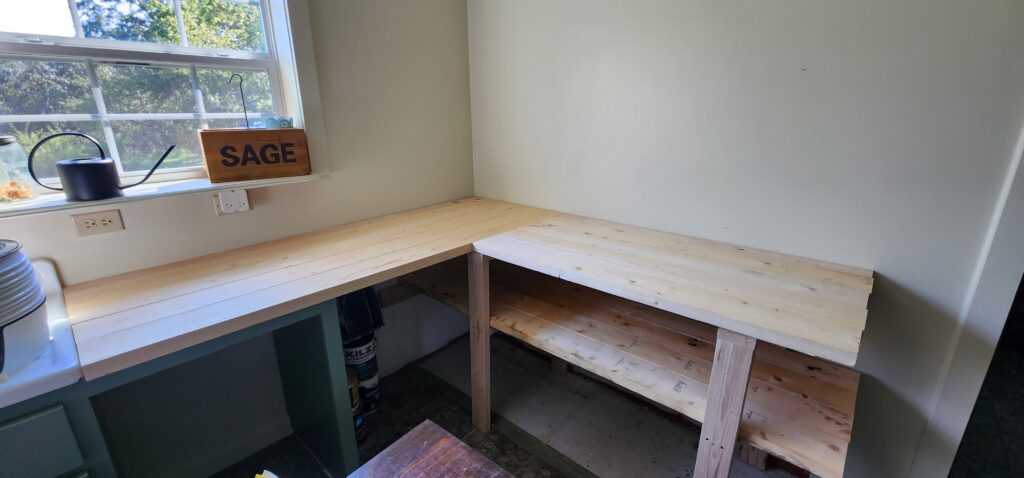
Our cost on this project was just under $40 with the use of salvaged scrap lumber. If we had purchased all the lumber, we would still have been able to build this for around $80. This was well worth the time and effort to make this space more functional.
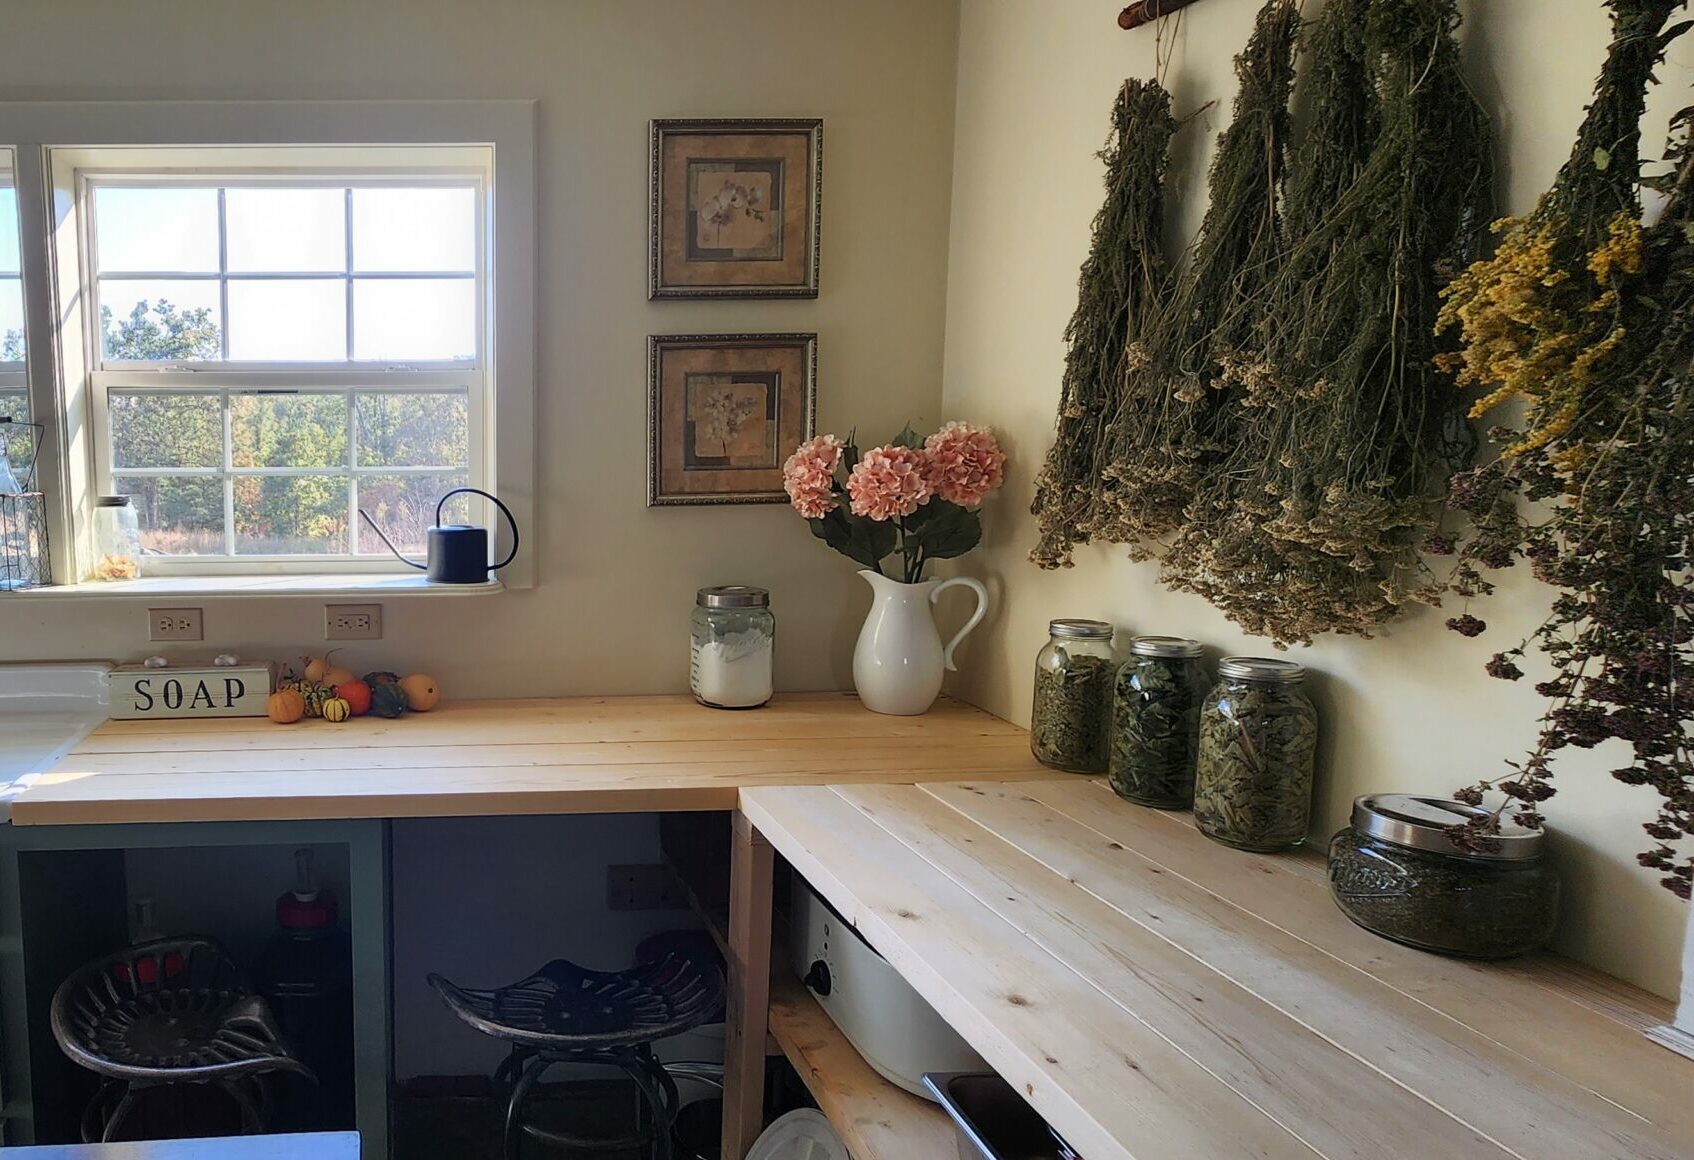
After
I am so happy with how this turned out. Since stain is not as easily changed as paint, I’ve been contemplating color options. The current color is too light, but the color of the center table would be too dark. If you have any suggestions, leave a comment, I’d love to hear your thoughts!
