Winter Sowing
Winter sowing is the cheapest and easiest way to start seeds for your garden (aside from just tossing seeds and hoping for the best). It also saves an incredible amount of time and space when starting seeds.
Do you pour over seed catalogs in the dark dismal winter, eager to start seeds and see the bright green of spring? That was me too, because December and January are too far ahead to start seeds inside, but not outside.
Benefits
Cost
Winter sowing is less expensive than indoor sowing. There is no need to buy expensive trays, lights, fans, or warming mats. Repurposing milk jugs for containers, the only materials needed are potting soil ($10), duct tape ($5), a marker ($2), and seeds. By using this method, I can start my whole garden for less than $20.
Space
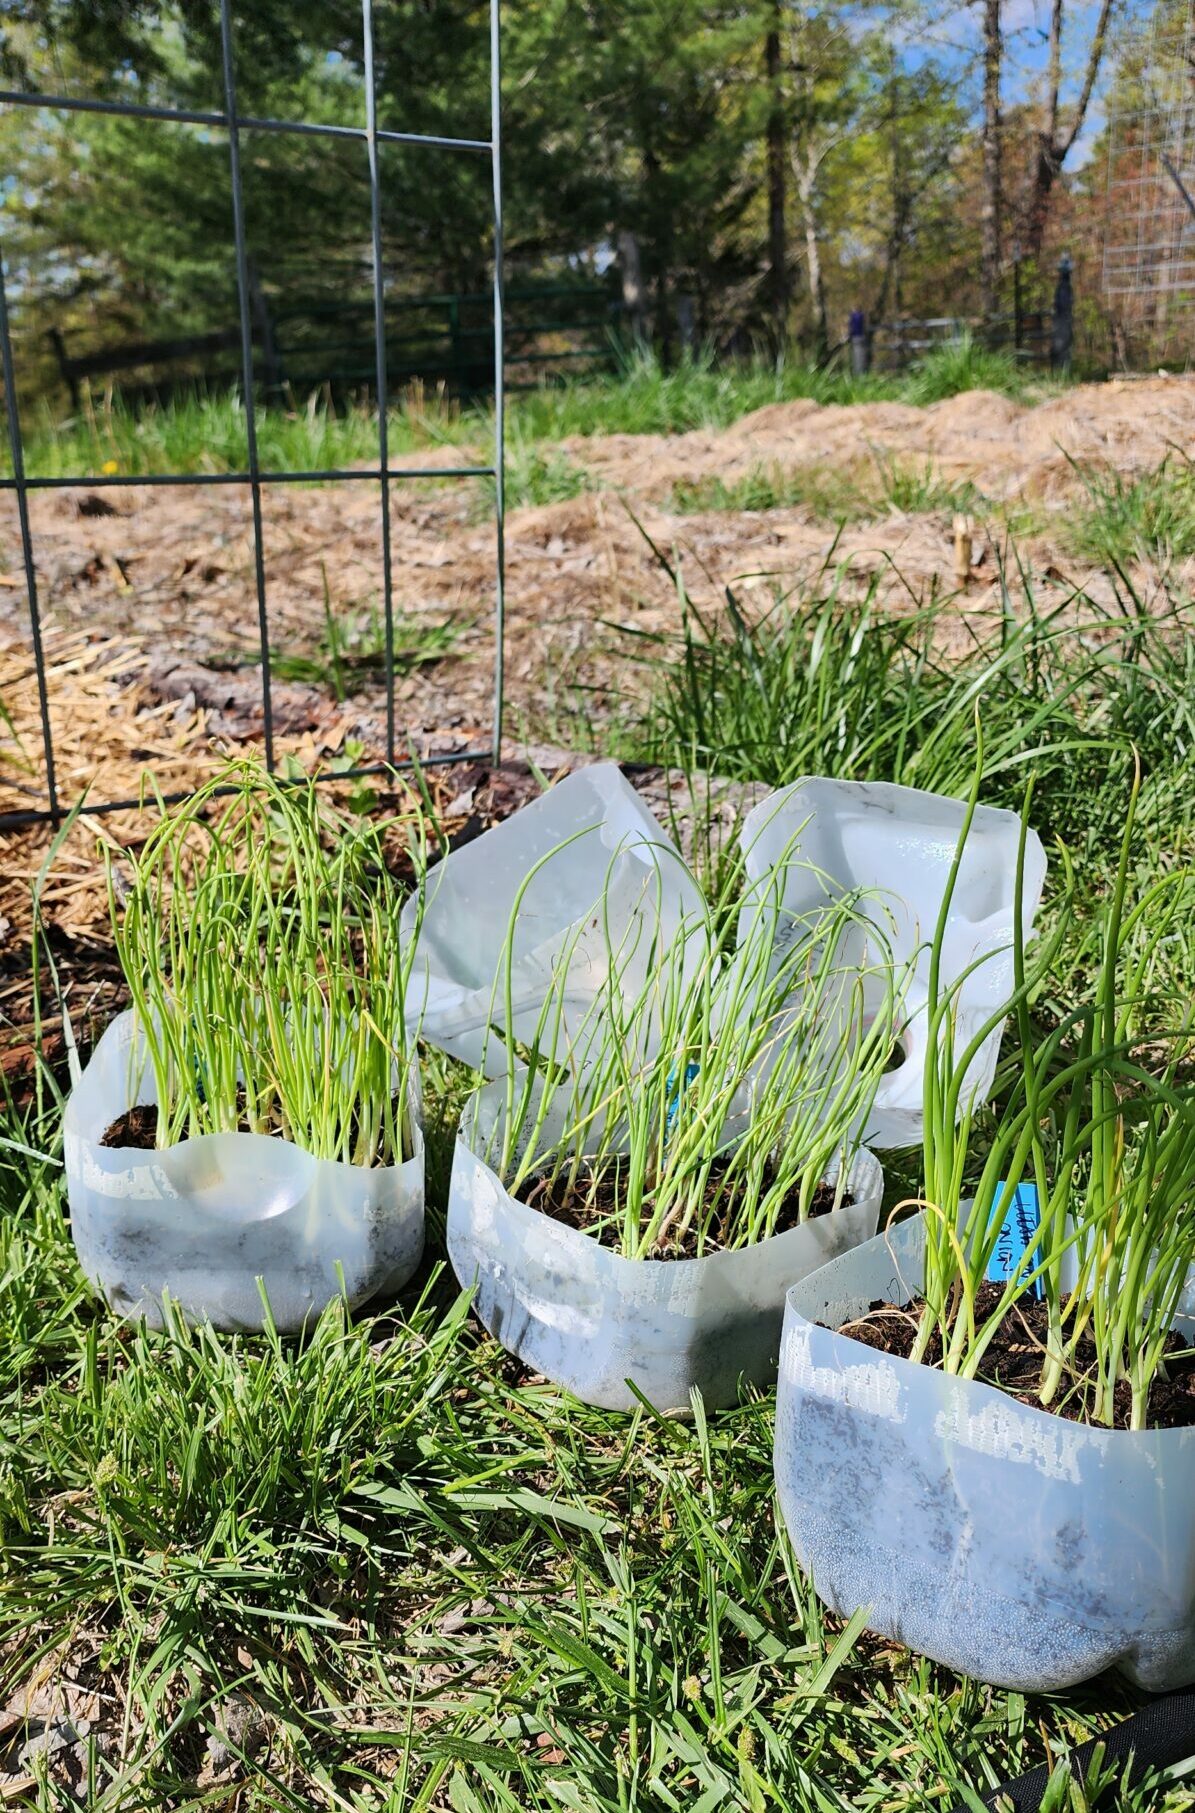
A major concern for many gardeners when starting seeds is the space required for all the trays. Not everyone has the space inside their house, or the luxury of a greenhouse (one can dream) to have ample space to start and tend seeds for their gardens. Winter sowing seeds outdoors allows you to start many seeds outdoors, even if you are limited on outdoor space. Sowing closely together in milk jugs allows you to sow the same amount as a traditional tray, in 1/3 of the space.
Time
Winter sowing allows for flexibility when planting and requires MUCH less time tending and maintaining seedlings. There is no need to wait until temperatures warm to plant seeds, you simply plant the seeds in the jugs, seal, and wait. The seeds will germinate in their own time, when the soil temperatures have maintained a high enough temperature for germination.
Winter sowing doesn’t require fussing over seedlings and watering daily. The lids to the jugs stay off, allowing air and moisture in, but also serving as a miniature greenhouse. The jugs retain moisture very well, and only need water if you have not had any precipitation in over a week or more.
Starting outdoors also eliminates the hassle of dealing with pesky fungus gnats and especially the two week long process of hardening off seedlings. Winter sowing automatically acclimates your seedlings to the outdoors so there is no need to haul your trays outside for increasing amounts of time daily – they are already outside and loving life.
Reduce Waste
Not only does this method not encourage purchasing new plastic trays, but it reuses materials that would otherwise go to the landfill. I also save these jugs and reuse them again at least an additional season, getting three uses out of one jug.
What to Plant
Contrary to what others might say, you can winter sow ANY seeds. I find my only constraint is container availability.
I prioritize winter sowing, first, by which seeds require or benefit from cold stratification, primarily perennial flowers and herbs. Then I like to plant seeds that take quite a while to reach maturity (the ones that would spend quite a bit of time in indoor trays). If I have more containers, I will get a head start on all of my frost hardy spring crops and a few tomatoes and peppers. There are some that say to wait until early spring to winter sow your tomatoes and peppers, but there is no reason to wait, since the seeds will only germinate when temperatures are warm enough for them to do so.
Perennials
| Rudbeckia | Larkspur | Salvia | Rosemary |
| Daisy | Delphinium | Coreopsis | Agastache |
| Coneflower | Hollyhock | Dianthus | Penstemon |
| Lavender | Phlox | Sweet William | Foxglove |
Cold Hardy Vegetables & Herbs
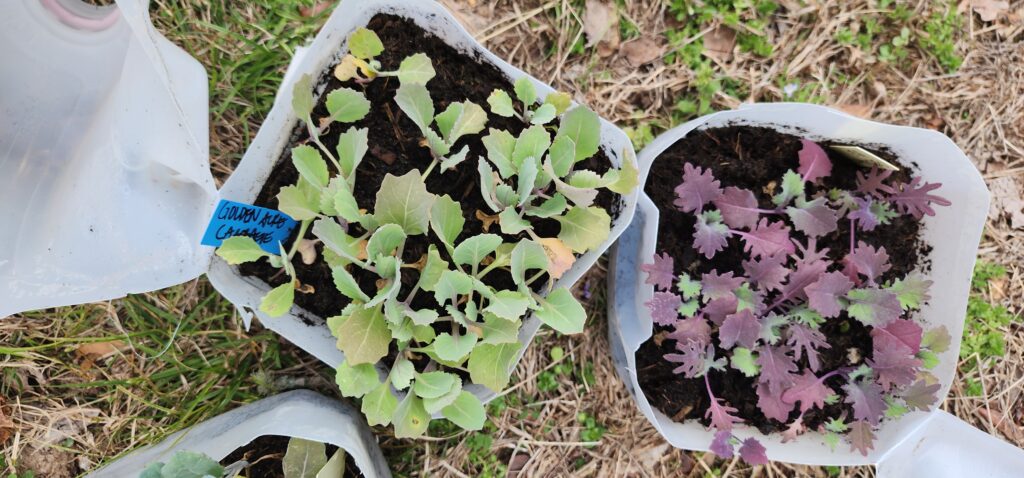
| Onions | Broccoli | Kohlrabi | Dill |
| Celery | Cabbage | Kale | Parsley |
| Spinach | Brussels Sprouts | Asparagus | Thyme |
| Swiss Chard | Mustard | Leeks | Chamomile |
| Lettuce | Collards | Arugula | Cilantro |
Warm Season Vegetables and Annuals
| Peppers | Basil | Cosmos | Marigold |
| Tomatoes | Sweet Alysssum | Calendula | Sweet Alyssum |
| Tomatillos | Oregano | Zinnia | Snapdragon |
How to Start Winter Sowing
Winter sowing requires only a few simple tools, some you may already have.
Materials
Milk jugs (or other clear containers like juice jugs, water jugs, etc. I have even reused clean rotisserie chicken containers)
Potting soil – a good organic potting soil (NOT seed starting mix – it won’t hold moisture)
Garden Markers – these are important if you want to know what was planted. Regular permanent markers wear away in the weather and these markers last for years.
Scissors or a knife
Seeds
Method
STEP 1 – Rinse the containers – rinse all containers thoroughly.
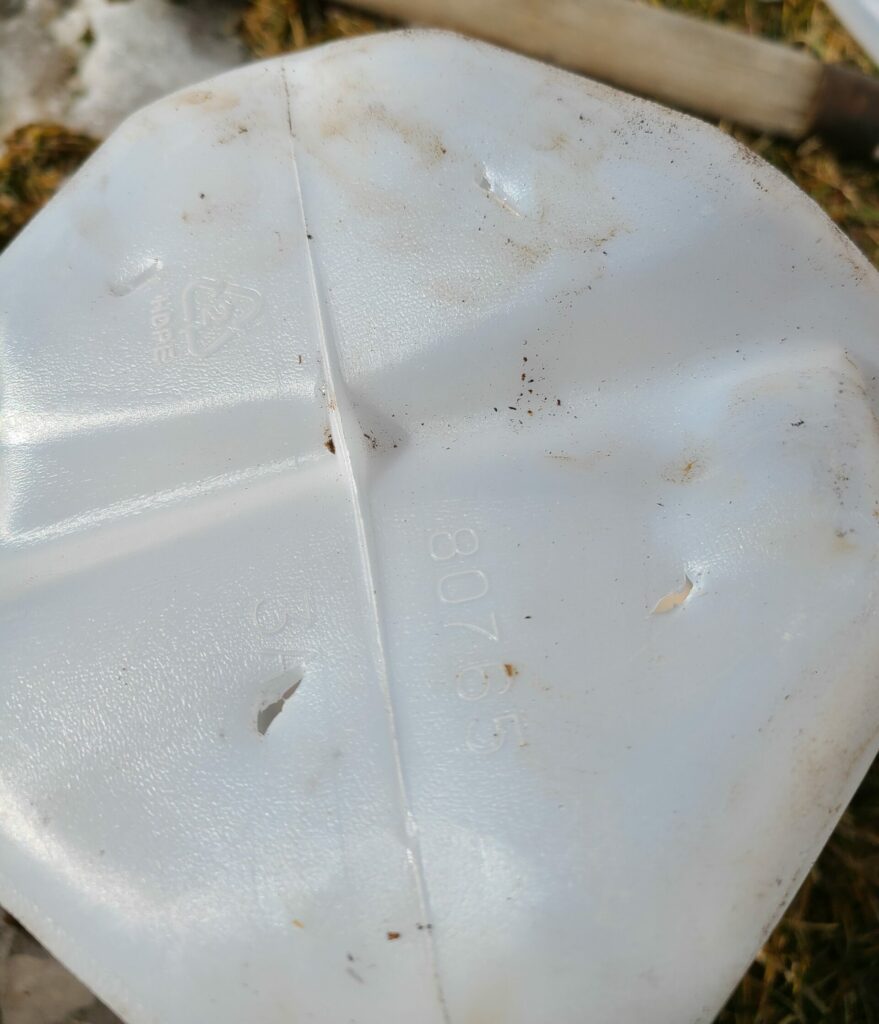
STEP 2 – Add drainage holes – use scissors to puncture drainage holes in the bottom. (You can also use a knife, a drill, or even melt the holes with a hot glue gun.)
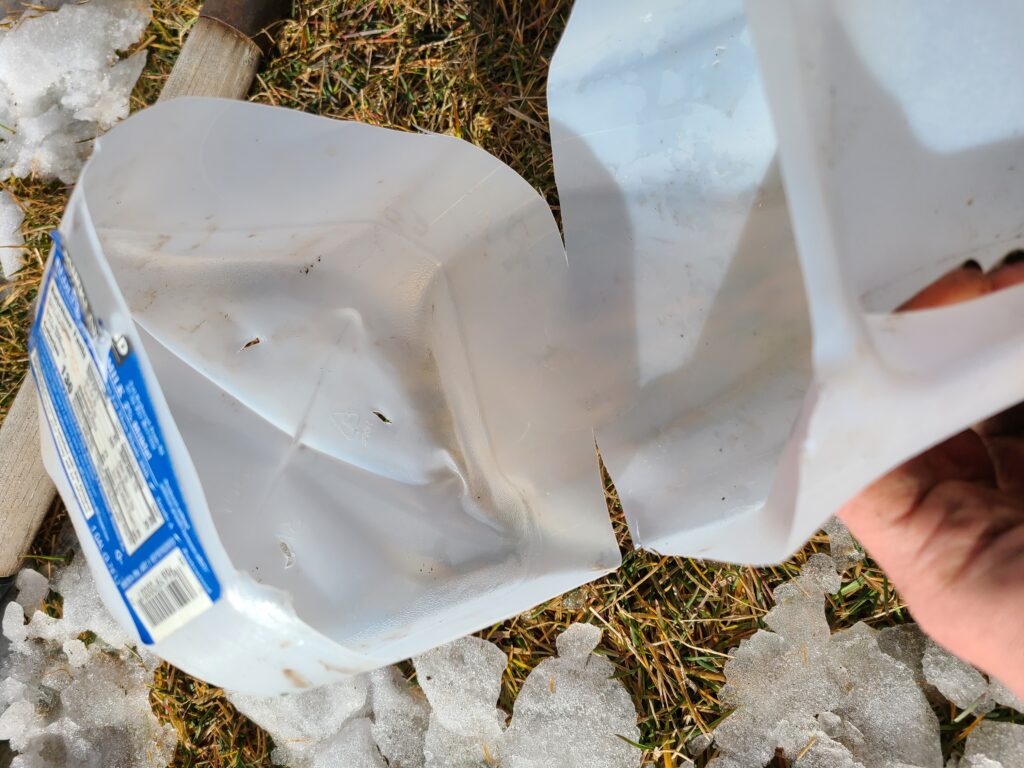
STEP 3 – Cut containers – Cut containers around the center, leaving 1″ remaining for a hinge.
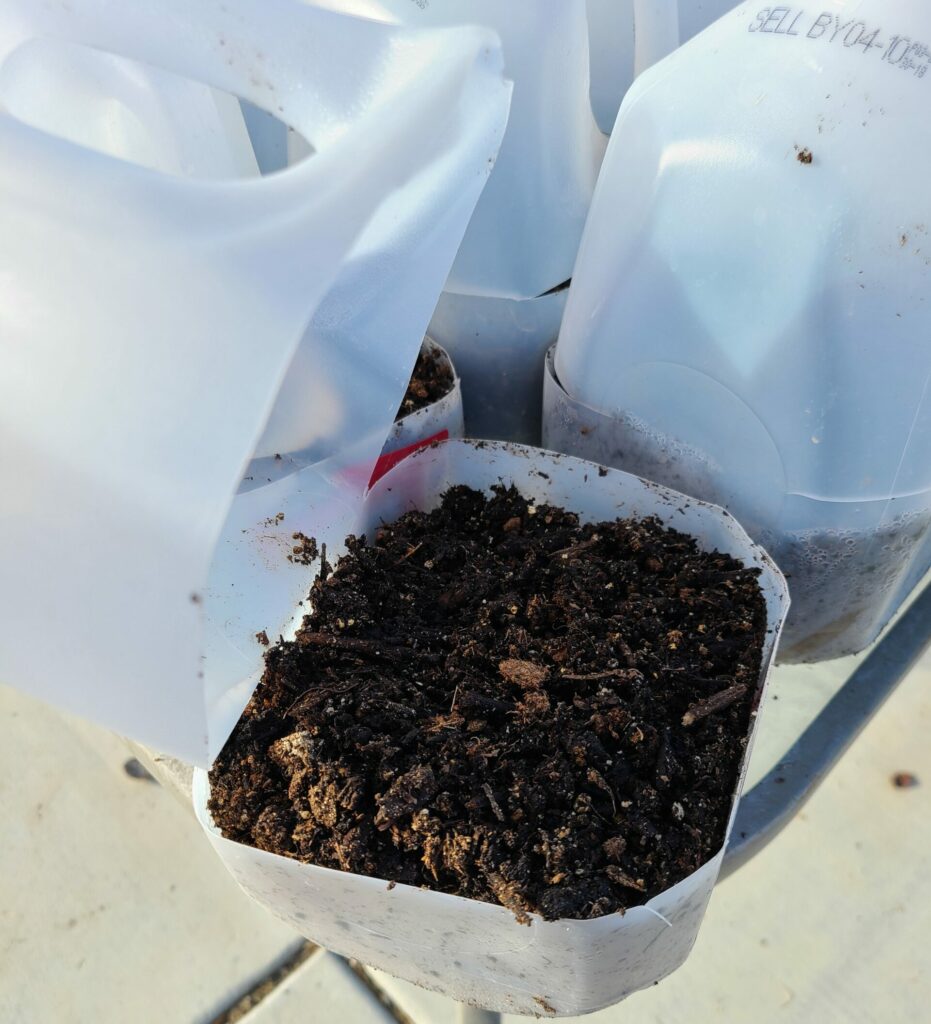
STEP 4 – Fill the containers – Fill the containers with about 3″ of soil. I like to make sure it is premoistened so that the seeds stay in place.
STEP 5– Plant seeds – Plant seeds according to depth indicated on the seed packet instructions. Spacing is not important, since they will be transplanted later. I sow them fairly thick. I also like to add plant tags inside just in case the markings on the outside are damaged.
STEP 6 – Tape closed – Use duct tape to seal the jugs closed.
STEP 7 – Label jugs – Label the outside of the jugs with the variety and the date sown.
After the jugs are sown, monitor them once or twice a week to ensure they remain well watered. Make sure the lid is removed in order to allow precipitation to naturally water the seeds and provide adequate airflow.
Seedlings should begin to emerge after a week or two, but may take a month or more for some varieties. When the outdoor temperatures are warm enough, and the seedlings have at least their first true leaves, you can separate and plant them. There is no need to harden off the seedlings (the BEST part)!
Let me know in the comments below if you’ve tried winter sowing and what you planted! I’d love to hear how it went!
Some of the links in the above article are affiliate links. This means that, at no additional cost to you, I will earn an affiliate commission if you click through the link and finalize a purchase.